Introduction
Welcome to the wonderful world of flower stencils! 🌸 If you’ve ever wanted to add a little extra charm to your home or craft projects but didn’t know where to start, you’re in the right place. Flower stencils are not only beginner-friendly, but they open up a whole garden of creative possibilities! Whether you’re dreaming of decorating your walls with blooming florals, crafting custom greeting cards, or even giving old furniture a fresh new look, flower stencils can help you bring your visions to life in no time.
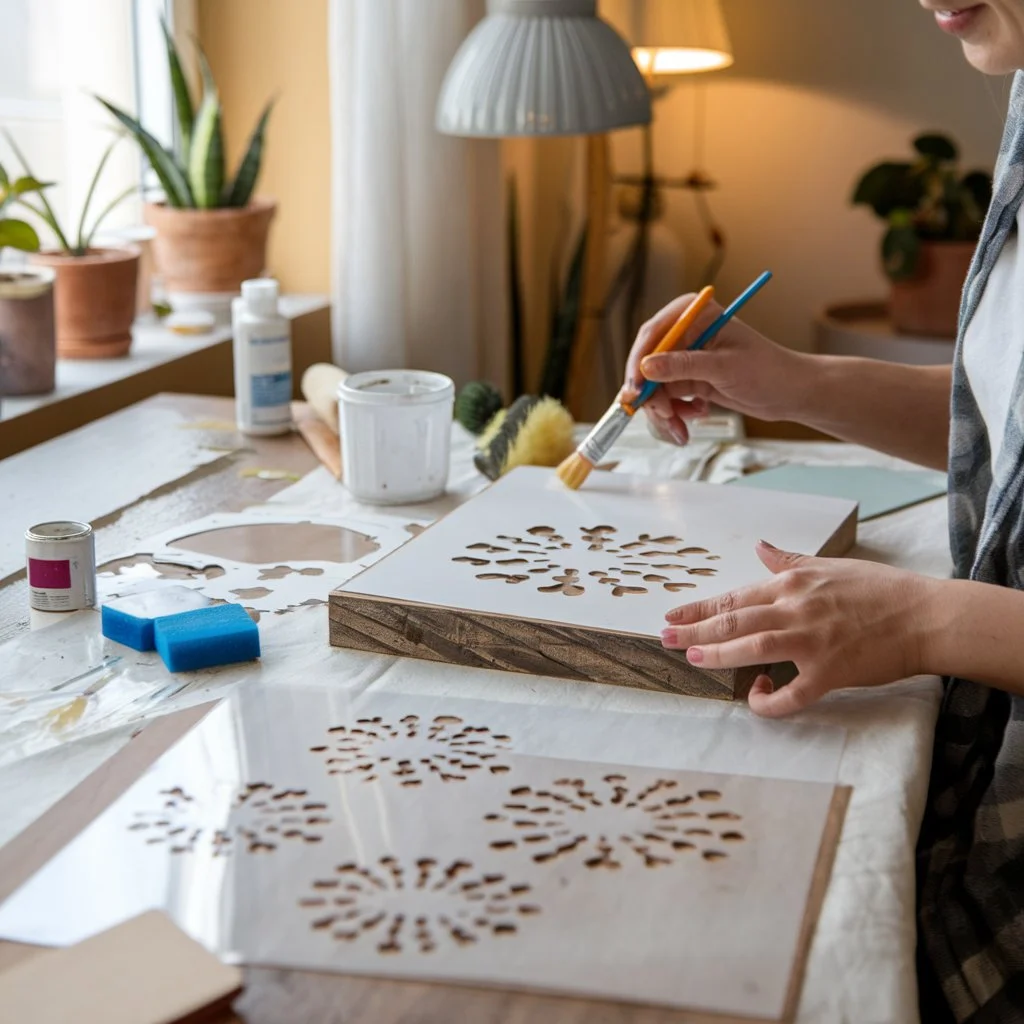
But here’s the best part: you don’t need to be a professional artist to create beautiful designs! In this guide, we’ll walk you through simple steps, tips, and tricks that will have you stenciling like a pro in no time. Keep reading — we’ve got loads of easy-to-follow advice and fun ideas that will help you unlock your creativity and transform everyday items into stunning works of art! 🌼 Ready to dive in? Let’s get stenciling!
Why Choose Flower Stencils for Your Crafting Projects
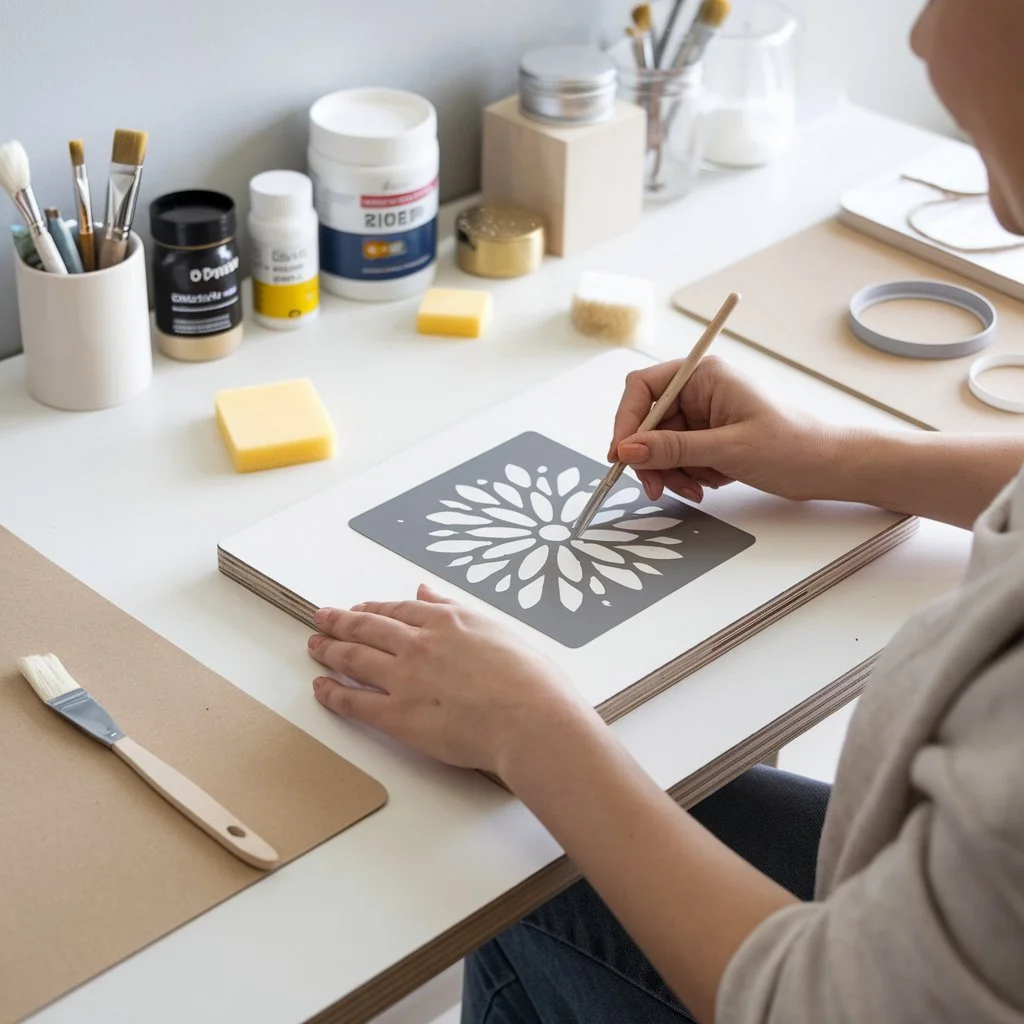
So, why should you choose flower stencils for your next creative project? Well, let’s dive into why these beautiful, beginner-friendly tools are perfect for both novice crafters and experienced creators alike. Whether you’re new to the world of stenciling or just looking for an easy way to add a floral touch to your craft projects, flower stencils have something amazing to offer.
Beginner-Friendly: How Flower Stencils Simplify the Crafting Process for Novices
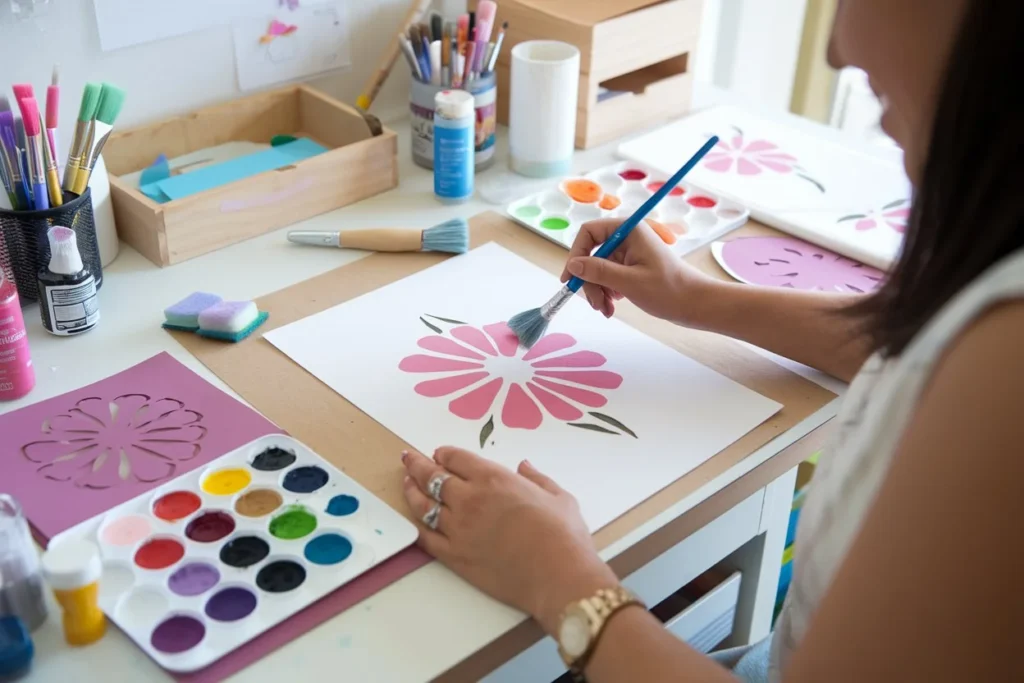
If you’ve ever felt intimidated by intricate art projects, flower stencils are here to help! They make it incredibly easy for beginners to create beautiful designs without needing any special skills or experience. Simply place the stencil on your surface, add paint, and voilà—an instant work of art! No complicated drawing or sketching skills required. Whether you’re stenciling on paper, fabric, or walls, the clear outlines of the flowers ensure your designs always look polished and professional. Flower stencils really take the guesswork out of crafting, making the entire process enjoyable and stress-free. It’s like having a stencil that’s your guide to a beautiful project!
Creative Expression: The Ease with Which Beginners Can Experiment with Different Stencil Designs and Customize Them
One of the best things about flower stencils is how much room they leave for creativity. Even as a beginner, you have the freedom to experiment with different designs, colors, and styles. You can mix and match flowers, create floral arrangements, or try out various techniques, like adding texture or shading. Want to change the look? You can customize it! Whether you want delicate daisy patterns or bold, tropical flowers, the possibilities are endless. Flower stencils let you explore your creativity at your own pace, and the best part is that there’s no wrong way to do it. Every project is a chance to express your personality and put your own spin on the design.
Versatility: How Flower Stencils Can Be Used on Various Surfaces Like Walls, Canvas, Furniture, and Clothing
Flower stencils aren’t limited to just one type of project or surface—they are incredibly versatile, making them perfect for all kinds of creative endeavors. Whether you’re decorating a room or adding a personal touch to your wardrobe, these stencils can go anywhere:
- Walls: Turn any room into a floral paradise by adding a stunning flower stencil design to your walls. You can create a delicate border or cover the entire wall with blooming patterns—there’s no limit to the floral vibes you can bring into your home.
- Canvas: Want to create artwork for your living room, office, or gift-giving? Flower stencils are perfect for decorating canvases and turning them into eye-catching pieces of art. Whether it’s a simple flower or an intricate arrangement, you can create a one-of-a-kind masterpiece with ease.
- Furniture: Flower stencils can even give your old furniture a fresh, blooming makeover! Stencil flowers onto tabletops, chairs, or cabinets to breathe new life into tired furniture. The result? A personalized, handmade look that’s perfect for your home.
- Clothing and Accessories: Flowers don’t just belong in the garden—they can be part of your wardrobe too! Add floral patterns to your shirts, tote bags, scarves, or even shoes with flower stencils. It’s a fun way to make your everyday items unique and stylish.
Flower stencils are truly a crafter’s dream—they allow you to bring your floral vision to life on virtually any surface, and there’s no limit to how creative you can get. From home décor to fashion, the versatility of flower stencils opens up endless possibilities for your crafting projects.
Essential Tools You’ll Need for Stenciling
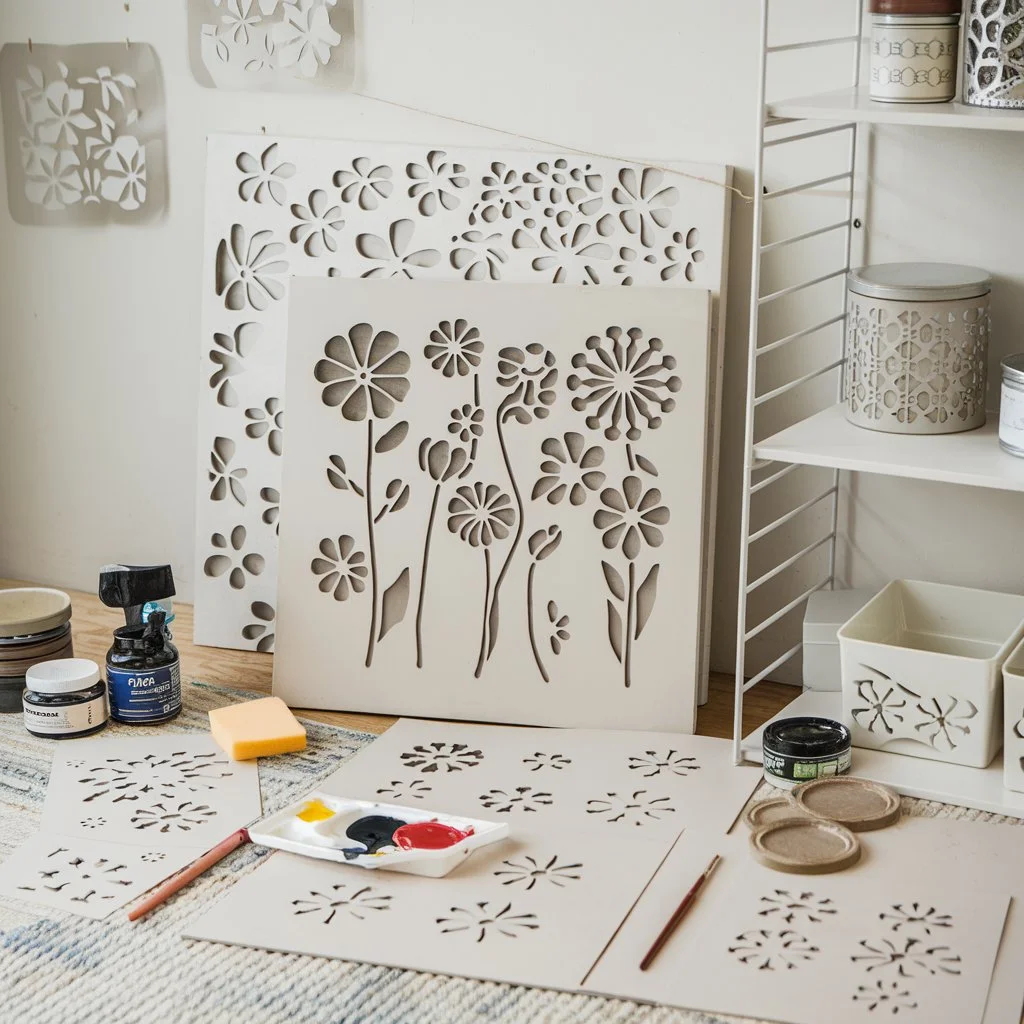
Ready to dive into the world of flower stenciling? Before you start adding those gorgeous blooms to every surface in sight, let’s take a look at the essential tools you’ll need. Don’t worry—getting started is easier than you might think, and we’ll help you gather everything you need to create stunning designs. Whether you’re working on a wall mural or a cute tote bag, these tools will set you up for stenciling success!
Crafting Tools: Your Stenciling Essentials
Before you can begin stenciling, you’ll need a few basic tools to help make the process smooth and fun. Here’s a quick rundown of the key items to have on hand:
- Flower Stencils: Of course, your main tool is the stencil itself! These come in a variety of sizes and designs, from simple daisy patterns to more intricate floral arrangements. You’ll want to choose a stencil that fits the size of your project and the level of detail you want to achieve. Don’t worry, there’s no shortage of beautiful flower designs to choose from!
- Paintbrushes: A variety of brushes will be helpful, especially for different paint techniques. A flat, medium-sized brush is perfect for applying paint evenly through the stencil. If you’re using a smaller stencil or adding detailed accents, a fine-tipped brush will give you the control you need.
- Sponges: Sponges are a game-changer when it comes to stenciling. They help apply paint in a gentle, dabbing motion, which reduces the chance of paint bleeding underneath the stencil. They’re especially great for larger areas or when you want a soft, textured effect.
- Chalks & Pencils: If you want to plan your design or trace your stencil on your surface before painting, chalk or a light pencil is perfect for marking your area. You can easily wipe away any mistakes before committing to the paint, which is a huge bonus for beginners!
- Painter’s Tape: To ensure your stencil stays in place and doesn’t move while you work, painter’s tape is a must. It helps keep everything aligned, so you don’t have to worry about smudging or misalignment while applying your design.
Choosing the Right Stencil: Tips for Selecting the Best Flower Stencil for Your Project and Skill Level
Not all stencils are created equal, and choosing the right one can make a big difference in the outcome of your project. When picking a flower stencil, consider both your skill level and the surface you’re working with.
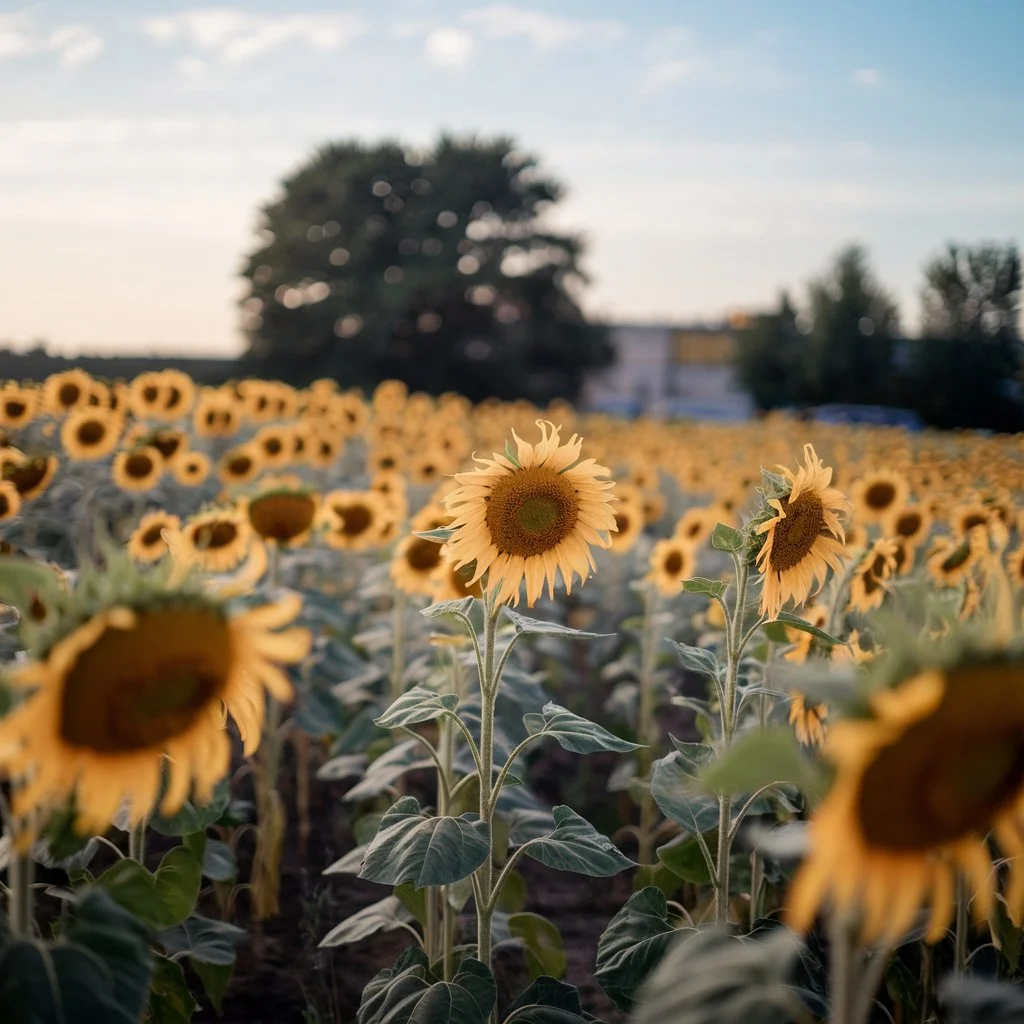
- For Beginners: Start with simpler, bold flower designs that have clear, easy-to-follow outlines. Larger flowers and fewer details mean you’ll have a smoother experience as you get familiar with the stenciling process. Think of daises, sunflowers, or even abstract floral patterns that don’t require too much precision.
- For Advanced Crafters: If you’re looking to push your skills, you can choose more intricate designs with detailed petals or overlapping flowers. These stencils might take a little more patience and finesse, but they’ll definitely add a high-impact look to your project.
- Project-Specific Tips: Think about the surface you’re working on. For walls, you might want a larger, more dramatic design, while for smaller items like cards or clothes, a smaller, more delicate stencil could be perfect.
Stencil Materials: Types of Stencil Materials for Durable Results
The material of your stencil plays a huge role in how easy it is to use and how long it lasts. Not all stencils are made of the same stuff, so let’s break down the most common stencil materials and what each one brings to the table:
- Cardstock: This is often the go-to choice for beginners and smaller projects. Cardstock is cheap, easy to cut, and works well for stenciling on paper or thin fabric. However, it’s not as durable as other materials, so it’s better for one-time or light-use projects. If you’re doing something bigger or longer-lasting, you might want to upgrade.
- Plastic (Mylar): Plastic stencils, often made from mylar, are sturdy and reusable. They’re perfect for large projects like wall art or furniture, and they won’t bend or tear easily. The flexibility of plastic also allows it to adapt to curved surfaces, which is great for stenciling on furniture, glass, or other irregular surfaces.
- Metal: For the ultimate durability, some stencils are made from thin metal. These are great for repeated use and can handle heavy-duty projects, such as painting on wood, metal, or canvas. While they’re more expensive than plastic, they’re incredibly durable and perfect for crafting over and over again.
- Wood: Wood stencils are often used for larger projects, especially when you want a more rustic, textured look. These are best used for stenciling on wood surfaces, and the material can add a unique, handcrafted feel to your designs.
Choosing the right stencil material ensures that your designs turn out just how you want them, and you’ll get more mileage out of your tools. For beginners, plastic or mylar stencils offer a good balance of durability and ease of use, while those taking on bigger projects might prefer metal or wood stencils for their strength and versatility.
With these essential tools, you’ll be ready to start stenciling your beautiful flower designs in no time! Whether you’re sprucing up a wall or creating custom accessories, having the right materials will set you up for success and make the process a whole lot more fun.
Easy Flower Stencil Designs to Try as a Beginner
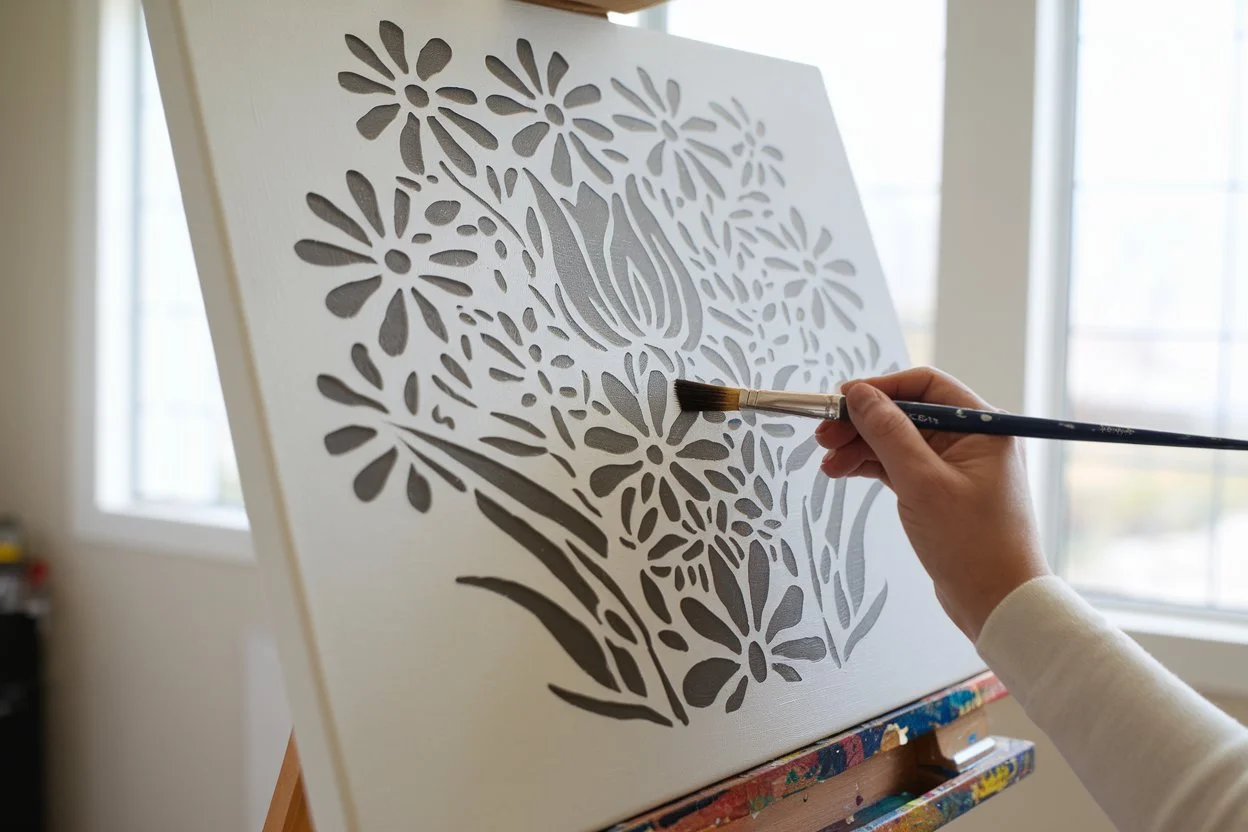
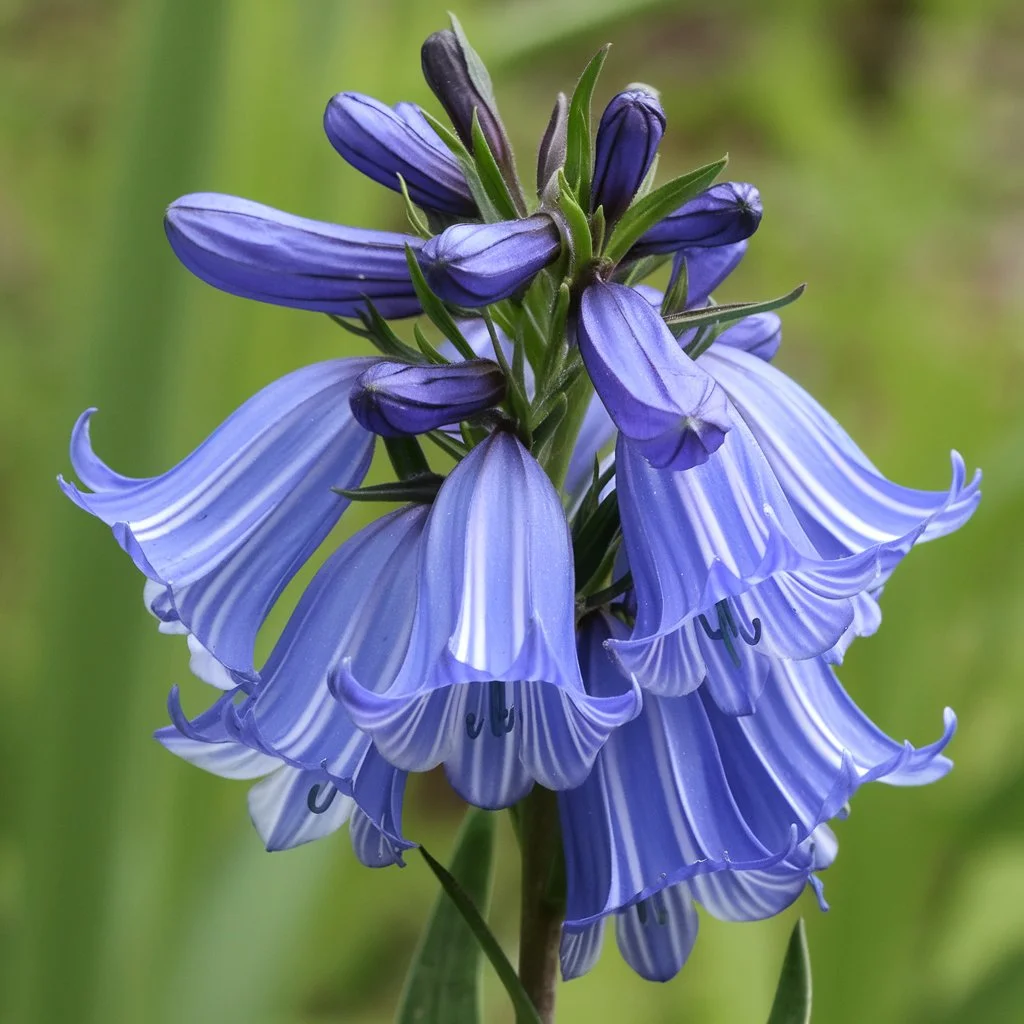
If you’re looking to add even more beauty to your crafting projects, why not try incorporating real flowers into your designs? Learn how to cultivate the Blue Mist Flower and bring its stunning blooms into your creative world. Check out our guide on How to Cultivate the Blue Mist Flower: Tips for Stunning Blooms for expert tips on growing this gorgeous plant!
Simple Flower Shapes: Start with Basic Flowers Like Daisies or Tulips for a Straightforward Design
If you’re just getting started with flower stencils for beginners, it’s best to keep things simple. Choose flower shapes that are easy to stencil and have clear, bold outlines. Flowers like daisies and tulips are perfect for beginners since their shapes are easy to follow and require minimal detail. These designs work great on almost any surface, from walls to fabrics to greeting cards.
- Daisies: A classic flower that’s both fun and simple to stencil. You can use flower stencil designs of single daisies or even a bouquet of them for a fresh, playful look.
- Tulips: These simple flowers are a great way to practice your stenciling technique. Their straightforward shape makes them perfect for DIY flower stencils on any project, from home décor to clothing.
Floral Patterns for Home Décor: Ideas for Stenciling on Walls, Pillows, and Furniture to Bring Floral Elements into Your Space
Flower stencils aren’t just for paper—they can be used to transform your living space too! With flower stencils for painting, you can add a touch of nature and beauty to your home with ease. Stenciling on walls, pillows, and even furniture is a great way to bring the beauty of flowers into your space, no matter the season.
- Flower Stencils for Walls: Create a beautiful accent wall by stenciling bold floral designs like roses, sunflowers, or a pattern of your favorite flowers. Flower stencils allow you to achieve a professional look without the cost of wallpaper. You can even choose larger flower tattoo stencils to create a more dramatic, statement-making design.
- Pillows and Cushions: Bring some floral flair to your living room by stenciling flowers on pillows. Use stencil flowers to add personality and color to your cushions, making them the perfect accessory for your sofa or bed.
- Furniture Makeovers: If you have an old table, chair, or dresser that needs a little TLC, try stenciling it with a floral design. Flower stencils for painting work great on furniture, giving it a custom, hand-painted look without the mess of freehand painting.
DIY Flower Stencils on Paper and Cards: How to Use Stencils for Greeting Cards or Scrapbooking Projects
One of the easiest ways to get creative with DIY flower stencils is to use them on paper crafts like greeting cards or scrapbooking projects. Stenciling with flower stencils can add a unique, personal touch to your handmade cards, invitations, or memory books. The possibilities are endless!
- Greeting Cards: Use your flower stencil designs to create custom greeting cards for birthdays, holidays, or just because. Stenciling flowers like daisies, roses, or sunflowers onto cardstock can give your cards a handmade, heartfelt look. You can even add extra details with markers, colored pencils, or embossing to make your stenciled flowers stand out.
- Scrapbooking: If you love scrapbooking, flower stencils are a must-have tool. Stencil flowers around photos, quotes, or special memories to bring your scrapbook pages to life. You can mix and match different flower stencil designs to create layered, textured looks.
- Gift Tags and Wrapping: Add a personal touch to your gift wrapping with flower stencils on tags, ribbons, or even the wrapping paper itself. A stenciled flower design can turn any gift into something special and unique.
With these simple yet creative flower stencils for painting, you’ll be able to tackle a variety of projects. Whether you’re brightening up a room, personalizing your home décor, or creating beautiful paper crafts, flower stencils offer endless opportunities for creativity and fun. So grab your flower stencil, choose your design, and let the crafting begin! 🌸
Step-by-Step Guide to Stenciling a Flower Design
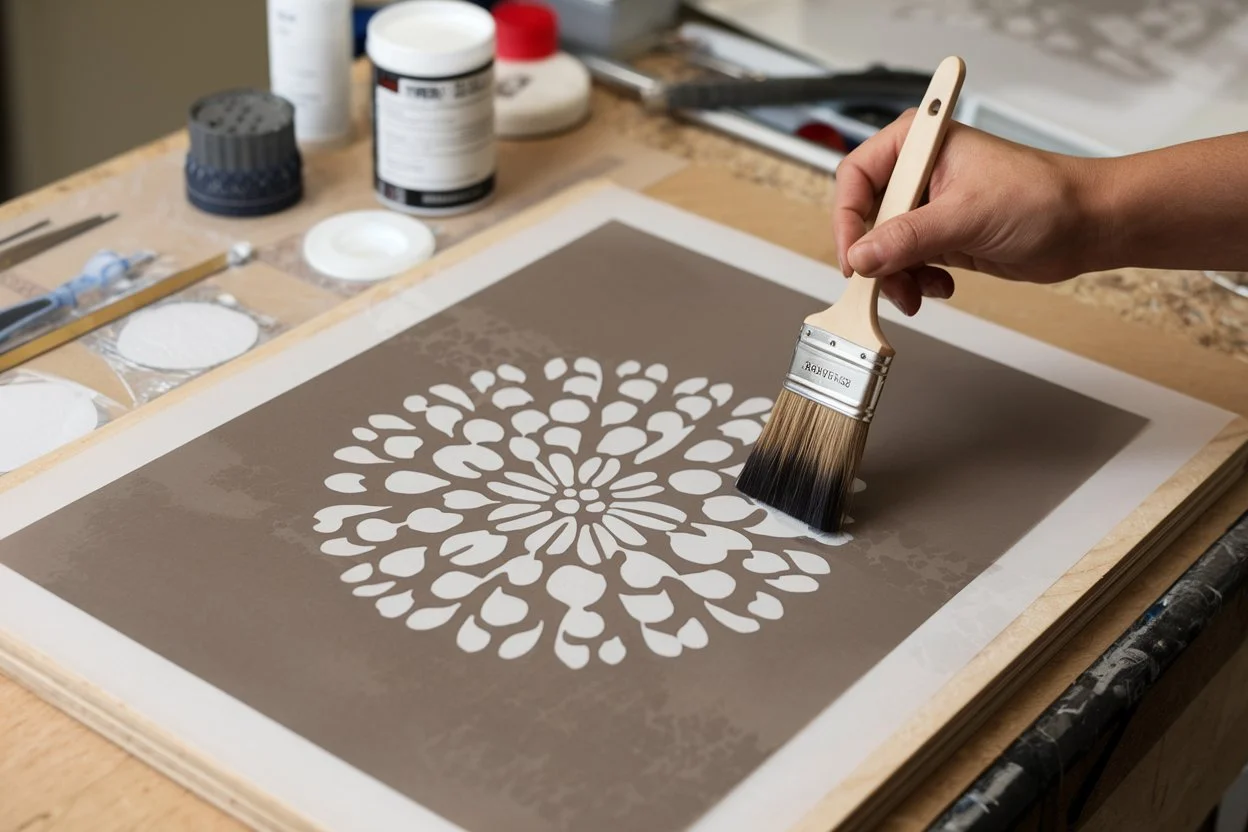
Ready to turn your flower stencil into a beautiful work of art? Stenciling is a fun and easy way to create gorgeous designs, and with a few simple steps, you’ll be well on your way to crafting your very own floral masterpiece. Follow this step-by-step guide to make sure your flower stencils turn out looking flawless every time!
Prepare Your Surface: How to Properly Prepare Your Surface Before Starting—Cleaning and Priming if Necessary
Before you dive into applying your flower stencil, it’s important to make sure your surface is clean and ready to go. This will help your stencil design stay crisp and clear, and ensure the paint adheres properly.
- Clean the Surface: Whether you’re stenciling on a wall, fabric, or furniture, start by cleaning the area to remove any dirt, dust, or oils. Use a damp cloth to wipe down the surface, and let it dry completely before you start stenciling. If your surface has any imperfections, gently sand it down for a smoother finish.
- Prime the Surface (if needed): If you’re working on a porous surface like wood or an unpainted wall, it’s a good idea to apply a primer. This step ensures that your flower stencils won’t absorb too much paint, leading to an uneven design. Use a primer that’s suitable for your surface, and let it dry before moving on.
Applying the Stencil: Techniques for Securing the Stencil and Applying Paint (Sponging vs. Brushing)
Once your surface is prepped, it’s time to apply your flower stencil design! This is the fun part, where your floral creations start to come to life. Let’s go over how to properly secure your stencil and apply the paint to get the best results.
- Securing the Stencil: Place your flower stencil exactly where you want it on your surface. To keep it in place, use painter’s tape around the edges. This will prevent the stencil from shifting while you work and ensure clean lines. For larger stencils, you can also use repositionable spray adhesive for extra security.
- Sponging vs. Brushing: There are two main techniques for applying paint to your stencil: sponging and brushing.
- Sponging: This is the most popular method for flower stencils for painting. Dip a sponge lightly in paint, then dab off the excess on a paper towel. Gently dab the sponge over the stencil, applying the paint in a soft, controlled manner. Sponging gives your design a smooth, even coverage without paint bleeding underneath the stencil.
- Brushing: For more precision and control, especially with smaller flower stencils, use a stencil brush. Load the brush with paint, then tap off the excess to prevent it from dripping. Lightly brush the paint through the stencil using a circular motion. Brushing works well for adding finer details to your flower stencil designs.
Finishing Touches: How to Refine Your Design and Add Any Extra Details to Your Stenciled Flowers for a Polished Look
You’ve applied your flower stencil, and your design is looking fabulous! But there are a few finishing touches you can add to refine the design and make it truly stand out.
- Refining the Edges: After removing your stencil, check for any paint smudges or uneven edges. If necessary, use a small detail brush or a fine-tip marker to clean up the edges and make your flower stencils look sharp and crisp. This will give your design a professional, polished appearance.
- Adding Extra Details: Now for the fun part—personalizing your design! You can add extra details like highlights, shadows, or even a pop of color to your stencil flowers. For example, use a lighter color to add highlights to the petals or a darker shade for shading around the edges of the flowers. You can also add accents like tiny dots or swirls to make your flower stencils for beginners look more intricate and detailed.
- Sealing the Design: If you’re working on a surface that will get a lot of use, like furniture or clothing, consider sealing your design with a clear varnish or fabric sealant. This will protect your flower stencil and help your design last longer.
With these easy steps, you’re all set to create beautiful flower stencils for painting that will make any surface bloom! Whether you’re stenciling a wall mural, a piece of furniture, or a fun accessory, following this guide will help you achieve stunning, professional-looking results. So grab your flower stencil, and let your creativity flourish! 🌷✨
Troubleshooting Common Stenciling Mistakes and Tips for Success
Stenciling with flower stencils is a fun and creative way to add beautiful designs to your projects. But sometimes, things don’t go as planned, and you might run into a few bumps along the way. Don’t worry—everyone makes mistakes! Here are some common stenciling challenges and tips to help you troubleshoot and get perfect results every time. Let’s turn those hiccups into flower-filled successes!
Uneven Paint Application: How to Avoid Smudges, Bleed-Through, or Uneven Edges
One of the most common mistakes when stenciling is uneven paint application. You might end up with smudges, bleed-through, or jagged edges, but don’t panic! Here’s how to avoid these frustrating issues:
- Preventing Smudges: Smudges happen when the stencil moves while you’re painting, or when there’s too much paint on your sponge or brush. To avoid this, secure your flower stencil well with painter’s tape or repositionable spray adhesive. Make sure your sponge or brush isn’t overloaded with paint—tap off any excess before applying it to your surface.
- Avoiding Bleed-Through: Bleed-through occurs when the paint seeps under the edges of the stencil, ruining your clean lines. To prevent this, use a gentle sponging technique instead of brushing the paint on. When using a sponge, dab lightly rather than sweeping the paint, and be sure to apply several thin layers instead of one thick coat.
- Fixing Uneven Edges: If you notice uneven edges, don’t fret! Once the paint is dry, you can clean up the design by carefully tracing the edges with a fine-tip paintbrush or marker. This technique will help make the outlines of your flower stencils crisp and sharp, giving your design a more polished look.
Choosing the Right Paint: Discuss Different Paints (Acrylic, Fabric Paint, etc.) for Stenciling on Various Surfaces
Choosing the right paint for your flower stencils is key to getting a vibrant, lasting design. Different surfaces require different types of paint, so let’s explore some options to ensure you get the best results for your project.
- Acrylic Paint: Acrylics are one of the most popular options for stenciling, especially on porous surfaces like wood, walls, and canvas. They’re easy to work with, dry quickly, and come in a wide range of colors. For flower stencils for painting on these surfaces, acrylic paint is your go-to choice. Just make sure to apply thin layers to avoid smudging or bleed-through.
- Fabric Paint: If you’re stenciling on fabric (think shirts, pillows, or tote bags), fabric paint is essential. It’s designed to adhere to fabric and stay flexible after drying, making it perfect for DIY flower stencils on clothing and accessories. Fabric paint also washes well, so your design won’t fade after a few trips through the laundry.
- Chalk Paint: For a more rustic, matte finish, chalk paint is ideal, especially for furniture projects. If you’re using flower stencils for furniture, chalk paint gives a soft, vintage look that works beautifully with floral designs.
- Spray Paint: For larger surfaces or quicker projects, spray paint can save time. Just be careful—spray paint can be more difficult to control than sponging or brushing, so practice first on a scrap piece to make sure your flower stencil designs come out clean.
Perfecting Your Stenciling Technique: Tips for Clean Edges, Layering, and Achieving a Professional Look as a Beginner
Now that you’ve got the right tools and paint, it’s time to refine your technique and make your flower stencils look flawless. Here are some tips to help you achieve a professional-looking design, even if you’re a beginner.
- Clean Edges: To get crisp, clean edges with your flower stencil, use a light, controlled touch when applying paint. Dab the sponge or brush in small, even strokes, and avoid overloading the tool with paint. This will keep the paint from bleeding under the stencil, ensuring your design stays neat.
- Layering: Layering is a great way to add depth and dimension to your flower stencil designs. Start with a light base color, and then add darker shades on top to create shadows or highlights. For example, stencil your flower stencils with a pale color first, and then layer a darker shade on the edges to give your flowers a realistic, 3D look.
- Achieving a Professional Look: The secret to a professional stenciling result is patience and attention to detail. Take your time with each layer of paint, and don’t rush the process. If you’re using multiple colors or intricate designs, let each layer dry before adding the next. This ensures that your flower stencil won’t smudge or mix colors unintentionally. And remember, perfection is in the details—if you need to refine the edges or add little touches like dots or accents, go for it!
With these troubleshooting tips, you’ll be able to avoid common mistakes and take your flower stencils for beginners to the next level. Whether you’re stenciling a wall, a piece of furniture, or a cute gift, these strategies will ensure your floral designs come out looking gorgeous every time. Keep practicing, and soon you’ll be stenciling like a pro! 🌼
FAQ
What kind of paint do you use for stencils?
For flower stencils, acrylic paint is the most commonly used as it dries quickly and is versatile for various surfaces, including wood, canvas, and walls. If you’re using flower stencils for painting on fabric, fabric paint is ideal for flexibility and durability. Chalk paint works well for flower stencil designs on furniture, providing a matte and vintage look.
How do you make real flower art?
To create real flower art, you can either press fresh flowers for a flat design or use flower stencils to paint and create lifelike floral patterns. For pressed flower art, place the flowers between paper and press them flat to arrange them in greeting cards or framed artwork. Alternatively, DIY flower stencils allow you to create intricate designs for custom projects like home décor or greeting cards.
What are stencil charges?
Stencil charges refer to the cost associated with creating or purchasing flower stencils, especially custom designs. Prices vary depending on factors such as stencil size, material, and complexity of the flower stencil design. These charges may also apply for special requests, like flower tattoo stencils or bulk orders.
What is the best type of stencil?
The best type of flower stencil depends on your project. For durability and flexibility, plastic or Mylar stencils are great choices for flower stencils for beginners. For more intricate designs or long-term use, Mylar or metal stencils provide precise results, while a simple cardstock flower stencil works for quick, single-use projects.
What is the trick to using stencils?
The trick to using flower stencils is to control the amount of paint and avoid overloading your brush or sponge. Dabbing the sponge with minimal paint and using painter’s tape to secure the stencil ensures sharp, clean lines. For DIY flower stencils, it’s important to experiment with techniques like sponging versus brushing to perfect your stenciling method.
How do you get crisp lines when stenciling?
To get crisp lines with flower stencils for painting, it’s crucial to use a dry brush or sponge technique to prevent paint bleed. Dab off excess paint before applying it, and secure your stencil firmly in place with tape. Using a flower stencil brush for small details helps maintain clean, sharp edges in your floral design.
Conclusion
Flower stencils are a fantastic tool for beginners looking to dive into the world of crafting. They simplify the process, offer endless creative possibilities, and help you produce beautiful designs with ease. Whether you’re stenciling on walls, furniture, or greeting cards, the versatility of flower stencils allows you to explore a range of projects while building your skills.
Now that you’ve learned the basics, don’t be afraid to experiment with different flower stencil designs! Try out new floral patterns, mix up colors, and let your creativity bloom. We’d love to see your creations—share your projects and inspire others in the crafting community!
Ready to take your stenciling skills to the next level? Subscribe for more tips, tricks, and DIY flower stencil ideas, and keep your crafting journey growing. Happy stenciling! 🌸
Check out our latest article for more insights, and follow us on Facebook for updates! and connect with us on Instagram, Pinterest, and YouTube for more inspiration!

